Why Stained Cabinets Are a Game-Changer
Wood has a language all its own. When you choose stained cabinets, you’re not just selecting a color—you’re highlighting every grain, knot, and natural texture that makes wood spectacular.
Key Benefits of Stained Kitchen Cabinets
- Versatility: Works with nearly any design style
- Durability: Protects wood while showcasing its beauty
- Customization: Endless color and tone possibilities
- Value Add: Increases home aesthetic and potential resale value
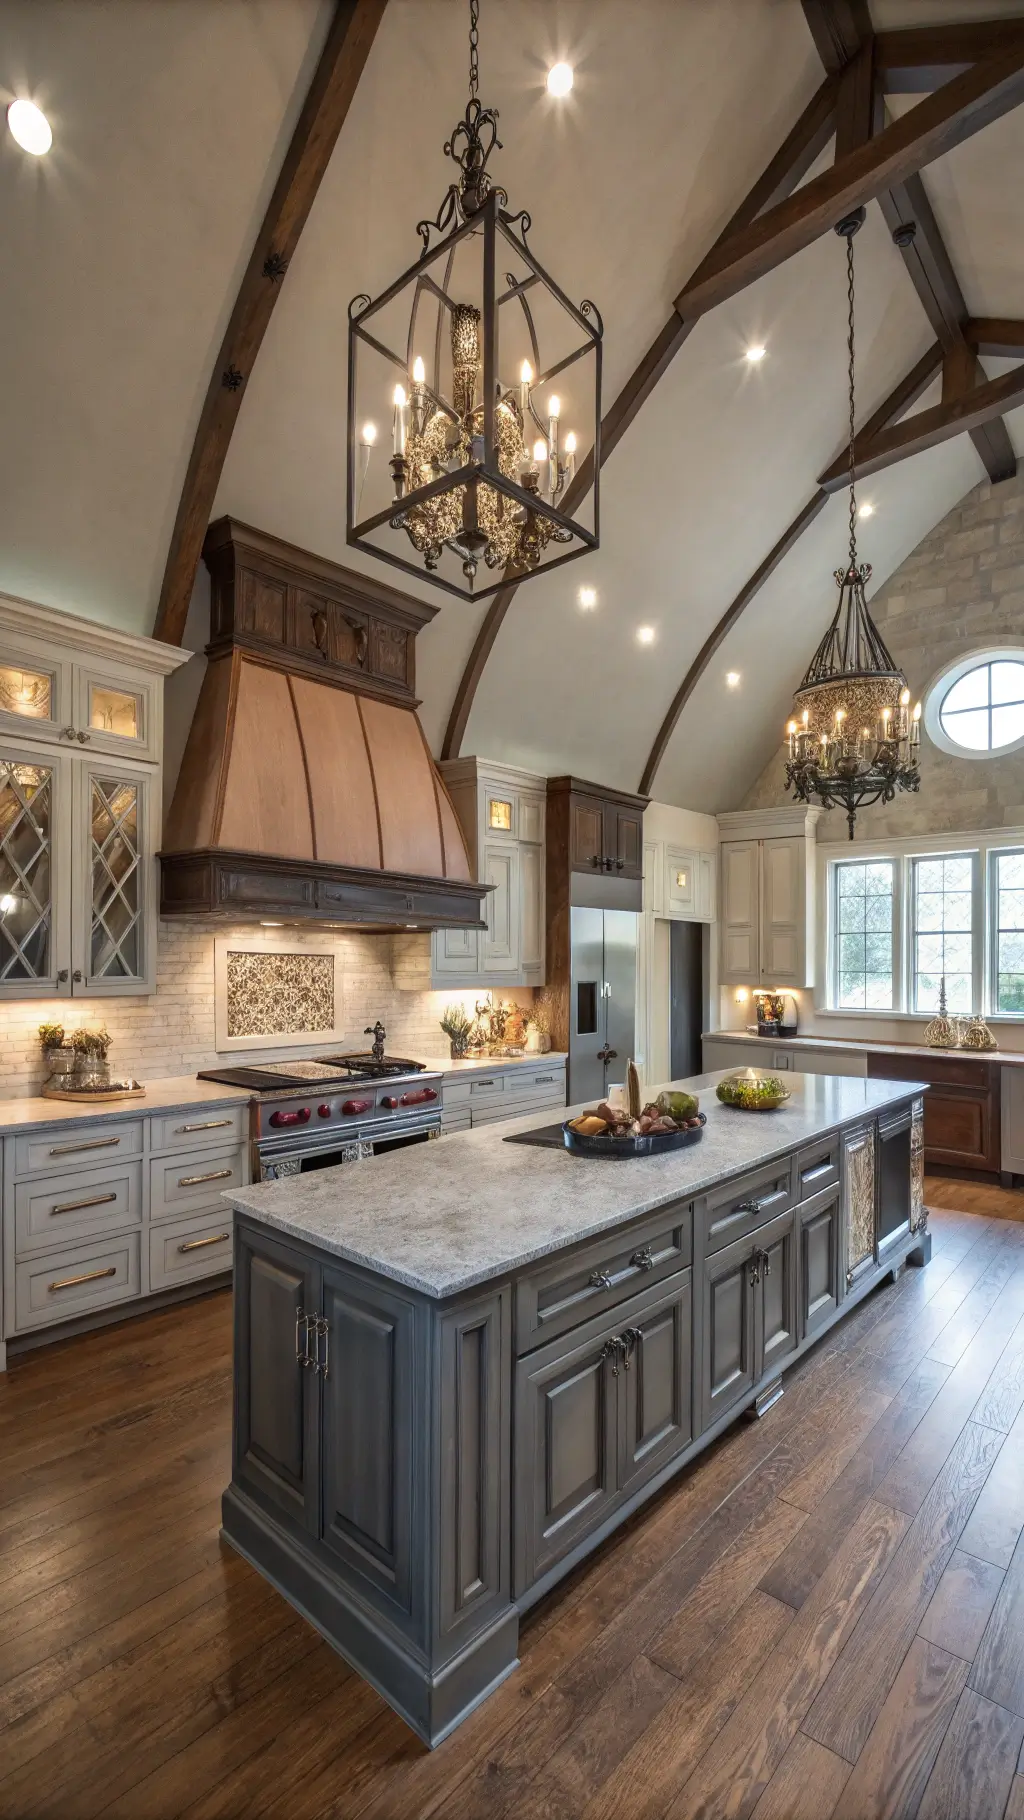
🏠 Steal This Look
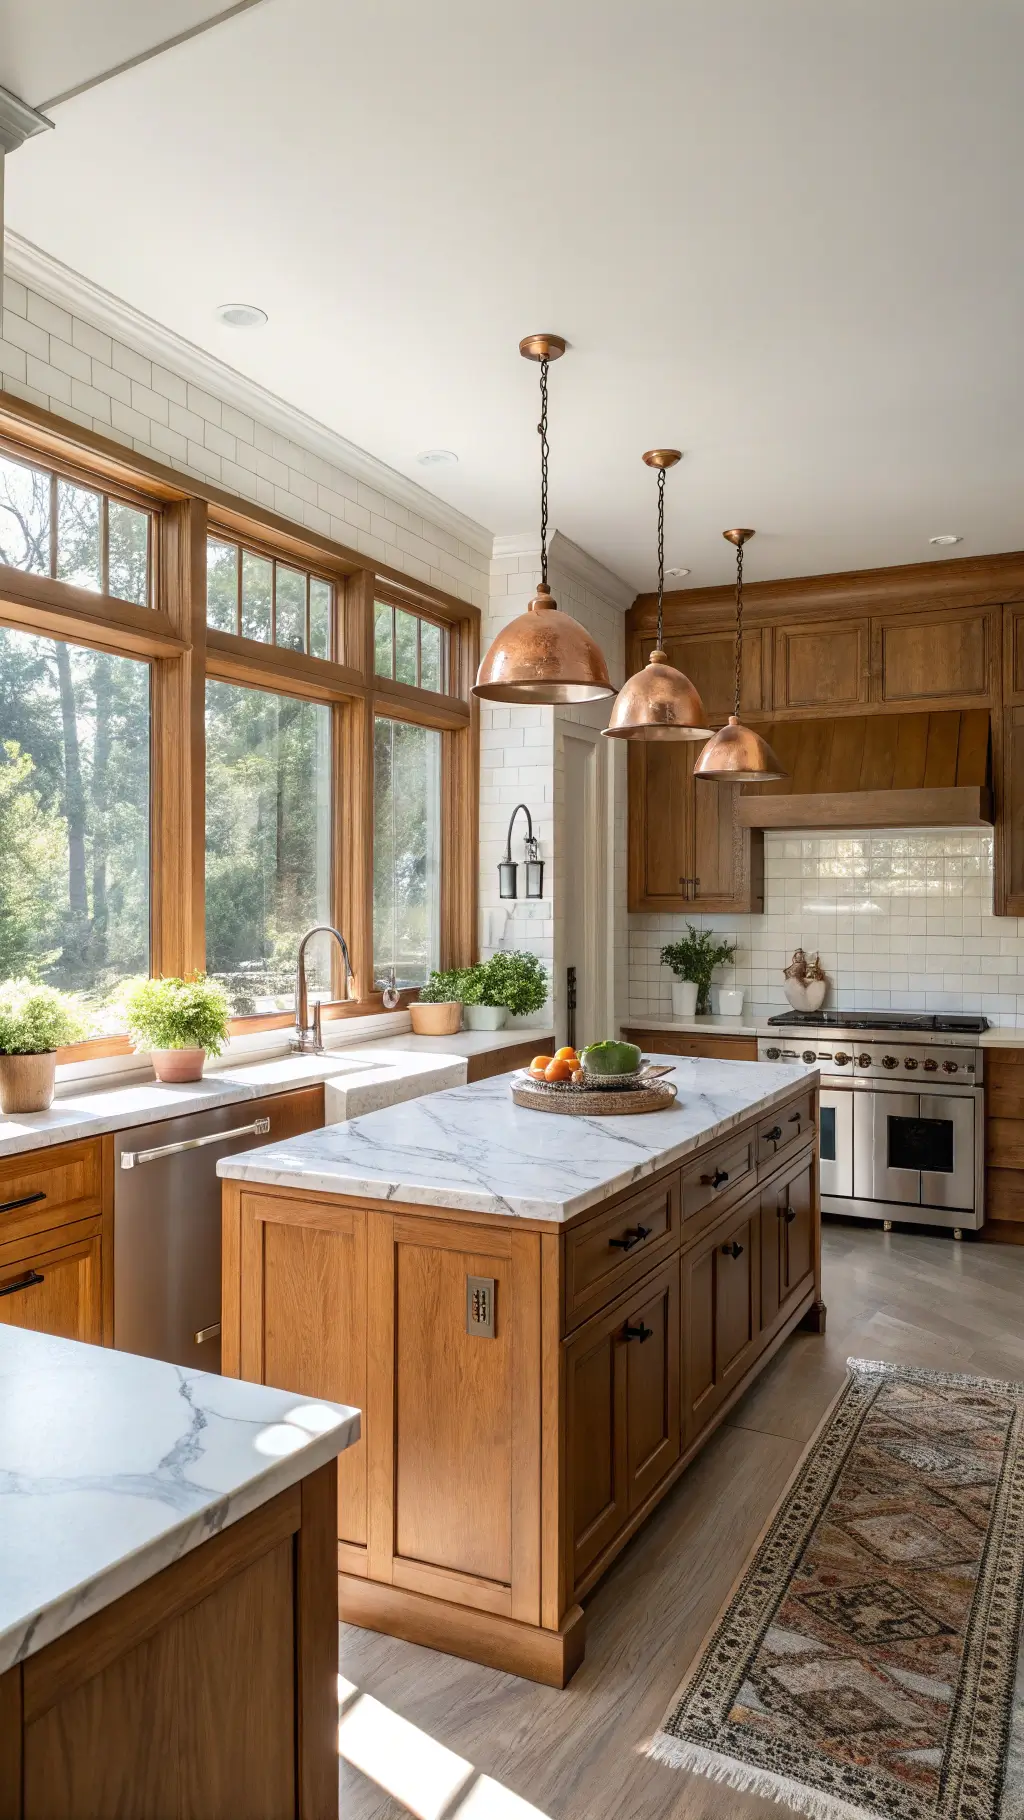
- Paint Color: Sherwin-Williams Accessible Beige SW 7036
- Furniture: warm wood dining table with complementary wood finish
- Lighting: brushed bronze pendant lights with warm Edison bulbs
- Materials: natural wood grain textures, warm bronze hardware, and stone countertops
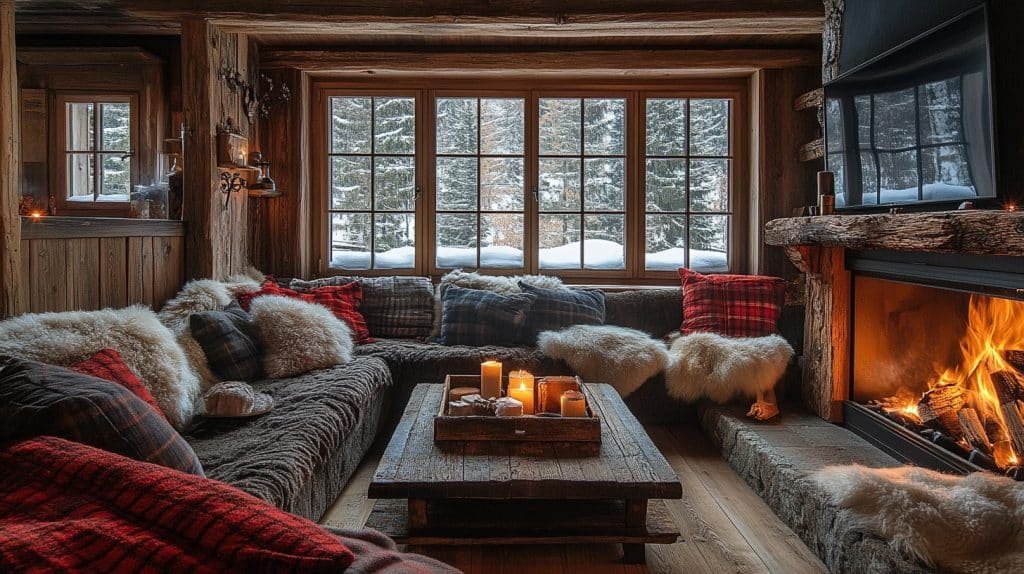
There’s something deeply satisfying about running your hand along beautifully stained wood cabinets, feeling every grain and knowing you’ve made a choice that will age gracefully. Stained cabinets bring warmth and character that painted surfaces simply can’t match.
Understanding Wood Stain Basics
What Makes Stain Different from Paint?
Stain penetrates wood, allowing its natural character to shine through. Paint covers wood completely, but stain becomes part of the wood itself—creating depth, dimension, and soul.
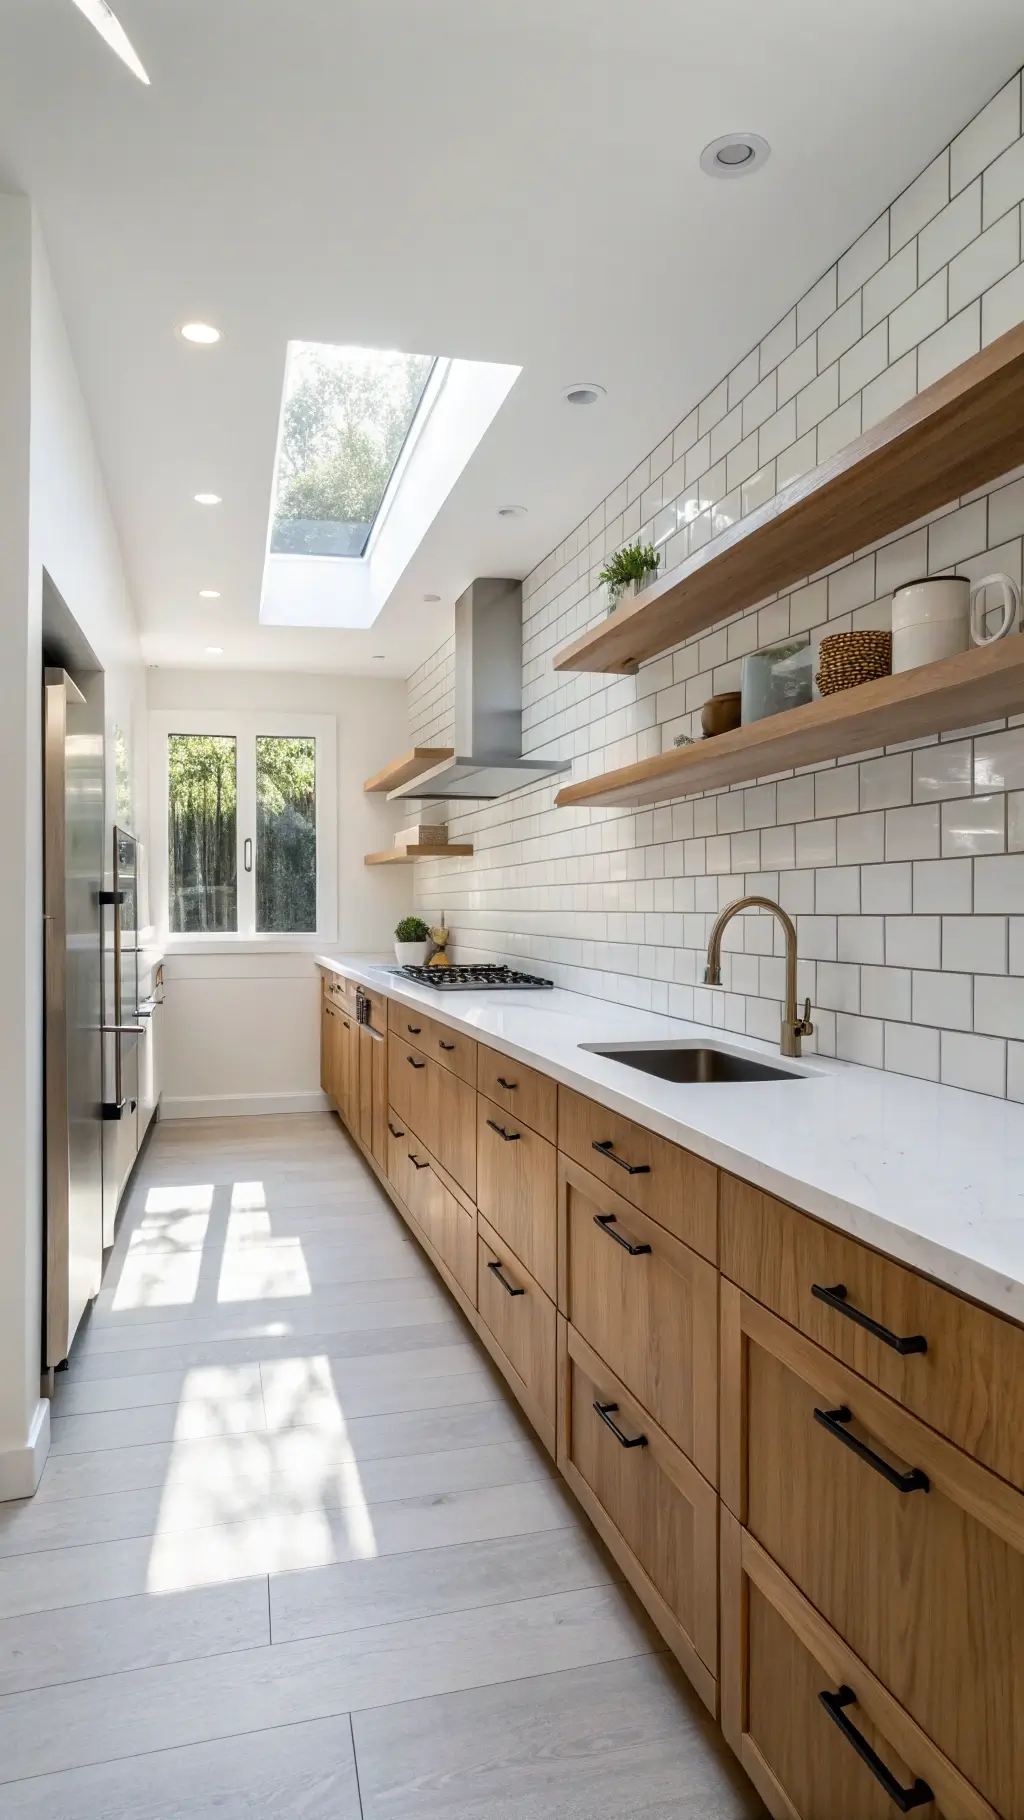
🏠 Steal This Look
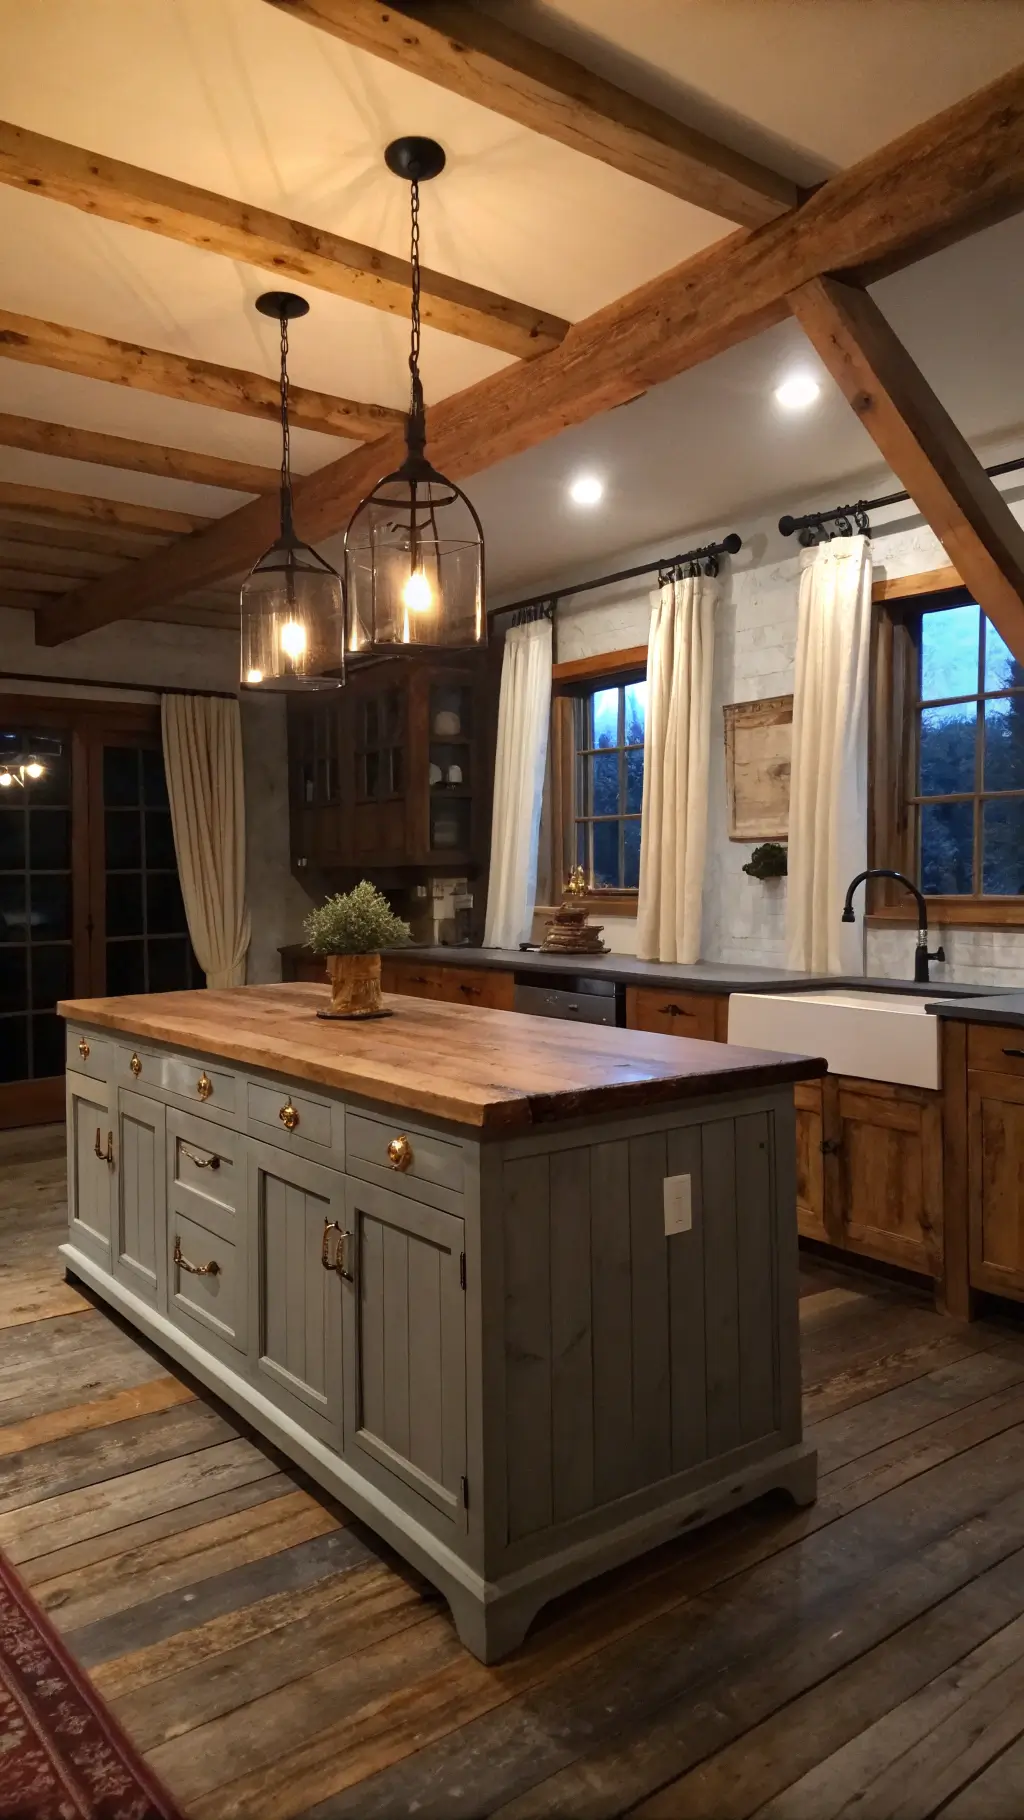
- Paint Color: Benjamin Moore Advance Interior Paint in White Dove OC-17 for trim and walls to complement natural wood cabinets
- Furniture: natural wood bar stools with visible grain to echo stained cabinet character
- Lighting: warm LED under-cabinet strip lighting to highlight wood grain texture
- Materials: natural wood grain textures, matte hardware finishes, stone or butcher block countertops
There’s something magical about watching wood stain bring out the hidden beauty in cabinet grain patterns. The right stain doesn’t just change color—it reveals the wood’s natural story.
Choosing Your Perfect Stain
Wood Species Matter
Not all woods take stain the same way:
- Oak: Dramatic, prominent grain patterns
- Maple: Smoother, more subtle grain
- Cherry: Rich, warm undertones
- Pine: Light, accepts stain variably
Color Selection Strategies
Pro Tip: Always test stain samples on a hidden wood piece first. Lighting and surrounding colors dramatically impact how a stain looks.
Color Range Breakdown:
- Light Tones: Honey, wheat, natural
- Medium Tones: Golden oak, walnut
- Dark Tones: Espresso, deep mahogany
- Trendy Options: Gray-wash, weathered looks
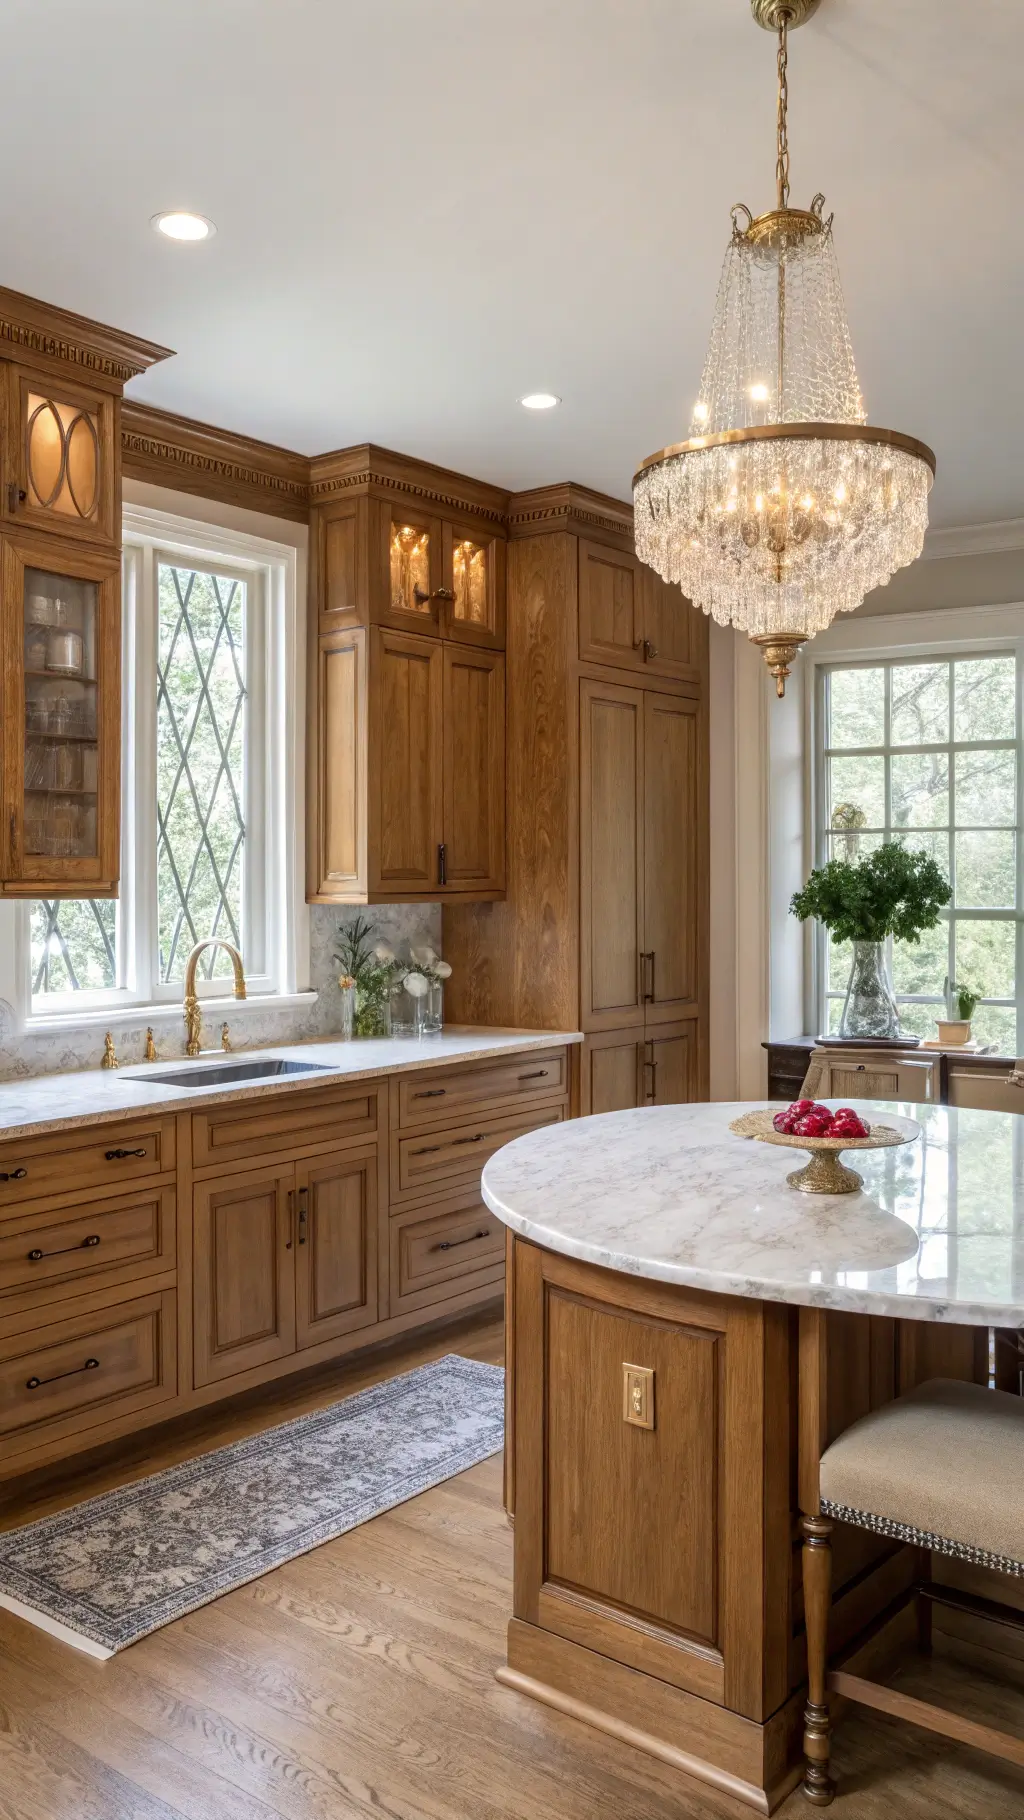
🖼 Steal This Look
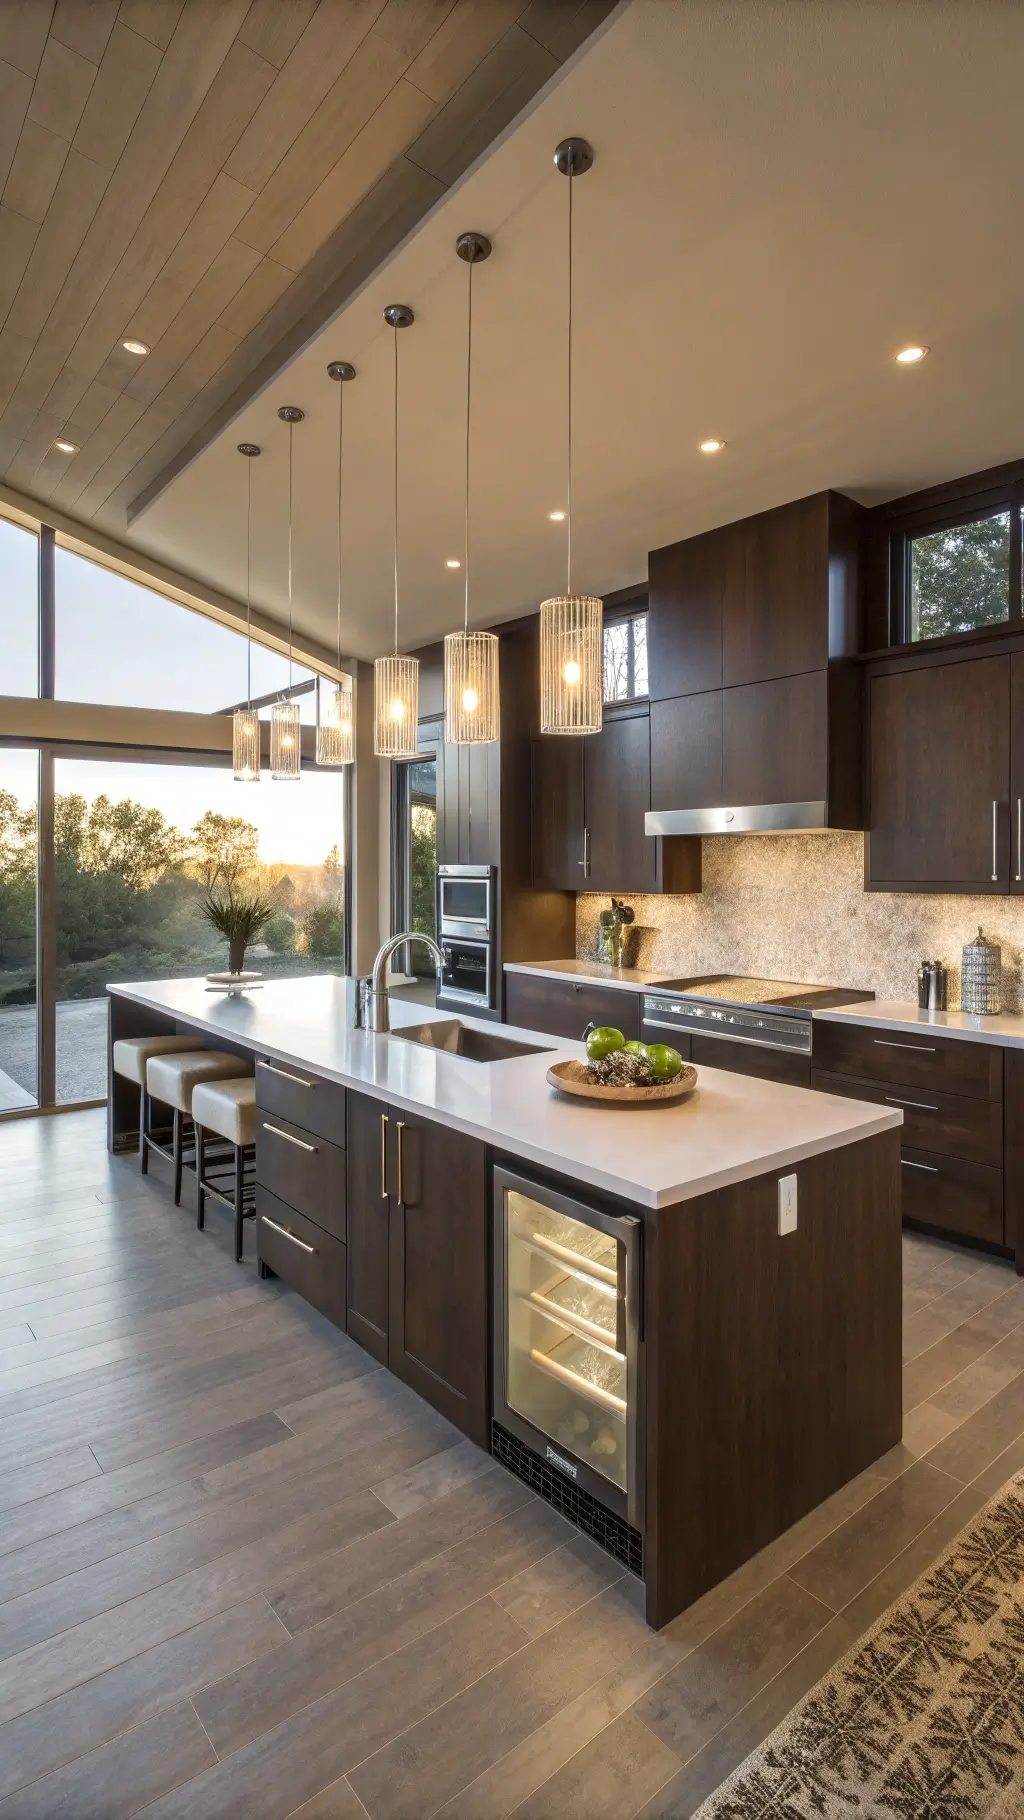
- Paint Color: Farrow & Ball Pointing No. 2003
- Furniture: Natural wood bar stools with leather seats to complement cabinet wood tones
- Lighting: Under-cabinet LED strips to showcase cabinet grain and stain color
- Materials: Mixed wood grains, brushed brass hardware, natural stone countertops
The right cabinet stain transforms your entire kitchen’s personality, from warm honey tones that invite morning coffee conversations to rich espresso that anchors elegant dinner parties.
The Staining Process: What to Expect
Preparation is Everything
- Clean Thoroughly
- Remove all hardware
- Degrease surfaces
- Sand carefully
- Choose Your Tools
- Quality brushes
- Lint-free rags
- Protective gear
- Appropriate stain for kitchen use
- Application Techniques
- Apply in thin, even coats
- Work with wood grain
- Allow complete drying between coats
✎ Steal This Look
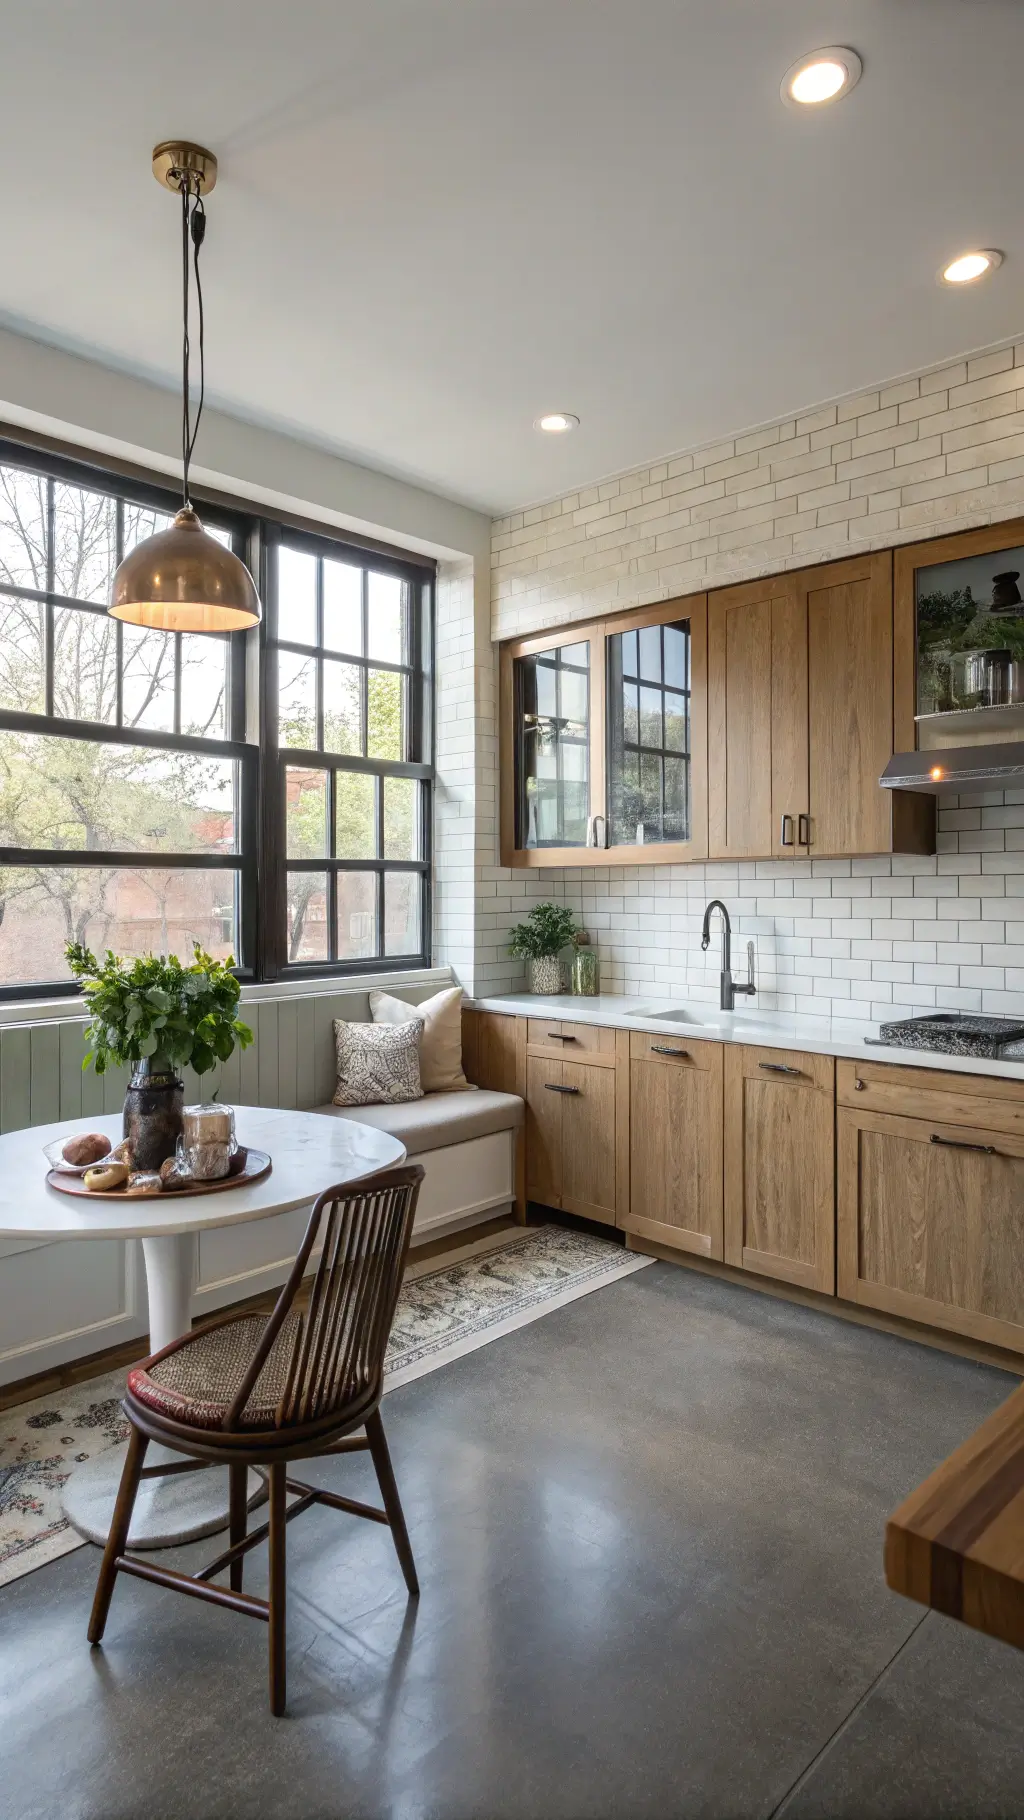
- Paint Color: Behr Semi-Transparent Wood Stain in Cordovan Brown ST-118 – rich, warm tone that enhances natural wood grain while providing durability for kitchen use
- Furniture: Wooden bar stools with matching stained finish, butcher block countertops, and open shelving in complementary wood tones
- Lighting: Under-cabinet LED strip lighting to showcase the rich wood grain and warm pendant lights over kitchen islands
- Materials: Natural wood grains, brushed brass cabinet hardware, and matte finish protective topcoats
There’s something deeply satisfying about transforming tired kitchen cabinets with your own hands, watching the rich wood grain emerge as each coat of stain brings new depth and character to your space.
Maintenance and Care
Keeping Your Stained Cabinets Gorgeous
- Gentle Cleaning: Soft cloths, mild cleaners
- Avoid Harsh Chemicals
- Annual Touch-Ups: Maintain protective coating
- Prevent Water Damage
💡 Steal This Look
- Paint Color: Valspar Reserve Semi-Gloss Trim Paint in Blanc V700-85 for touch-ups on cabinet frames
- Furniture: pull-out cabinet organizers and lazy Susans to reduce wear from daily use
- Lighting: under-cabinet LED strip lights to illuminate work surfaces and reduce cabinet wear
- Materials: natural wood grain with protective polyurethane topcoat, brushed nickel hardware
There’s something deeply satisfying about running your hand across perfectly maintained stained cabinets – that smooth, protected wood surface tells the story of a kitchen that’s both beautiful and well-loved.
Common Pitfalls to Avoid
Warning Signs You’re Doing It Wrong:
- Uneven stain application
- Skipping surface preparation
- Using indoor stain in a high-moisture environment
- Neglecting protective topcoat
🖼 Steal This Look
- Paint Color: PPG Timeless 1016-4 – rich medium brown that complements natural wood stain tones
- Furniture: solid wood kitchen island with matching stained finish and brass hardware
- Lighting: warm LED under-cabinet strips to highlight stained cabinet grain
- Materials: natural wood grain, satin polyurethane topcoat, brushed brass cabinet pulls
I’ve seen too many beautiful kitchen renovations ruined by impatient staining technique. The difference between amateur and professional-looking stained cabinets comes down to methodical preparation and patience with each coat.
Budget Considerations
Cost Breakdown
- DIY Route: $200-$500 in materials
- Professional Service: $1,500-$4,000 depending on kitchen size
- Comparison to Full Replacement: Save 50-70% versus new cabinets
💡 Steal This Look
- Paint Color: Dunn-Edwards Swiss Coffee DEC758 – a warm neutral that complements natural wood stains and works with any cabinet finish
- Furniture: butcher block countertops and simple bar stools to maximize budget impact
- Lighting: pendant lights over island for focused task lighting
- Materials: wood grain textures, matte hardware finishes, and natural stone accents
Smart budget planning makes cabinet staining an incredibly rewarding DIY project that delivers professional-looking results. The money you save can go toward upgraded hardware or countertops that really make the space shine.
When to Call a Professional
Consider professional help if:
- You have complex wood surfaces
- Lack confidence in DIY skills
- Have high-end or specialty wood cabinets
🖼 Steal This Look
- Paint Color: Clare Paint Current Mood C91 – a sophisticated navy that works beautifully with both light and dark wood cabinet stains
- Furniture: natural wood bar stools with leather seats to complement stained cabinets
- Lighting: brass pendant lights over kitchen island
- Materials: warm wood grain, brushed brass hardware, natural stone countertops
There’s no shame in recognizing when a project exceeds your skill level – professional cabinet refinishing is an investment that protects your kitchen’s value and your sanity.
Trend Alert: Modern Staining Techniques
Emerging Styles
- Ombré wood tones
- Mixed wood stain combinations
- Minimalist, muted color palettes
- Sustainable, eco-friendly stain options
✎ Steal This Look
- Paint Color: Fine Paints of Europe Bone White HC-177
- Furniture: sleek bar stools with natural wood seats and black metal legs
- Lighting: linear LED under-cabinet strips with warm white temperature
- Materials: mixed wood grains in graduated tones from light maple to dark walnut
The beauty of modern staining lies in its subtle sophistication – these techniques let the natural wood grain tell the story while creating visual interest through tonal variation rather than bold color contrasts.
Final Thoughts
Stained kitchen cabinets aren’t just a design choice—they’re an investment in your home’s character. With careful selection and proper technique, you’ll create a space that tells your unique story.
Pro Tip: Your kitchen’s soul lives in its details. Choose wisely, stain carefully, and watch your space transform.